Tuesday, November 12, 2024
How to Build a Birdhouse with a Rustic Finish for Country Charm
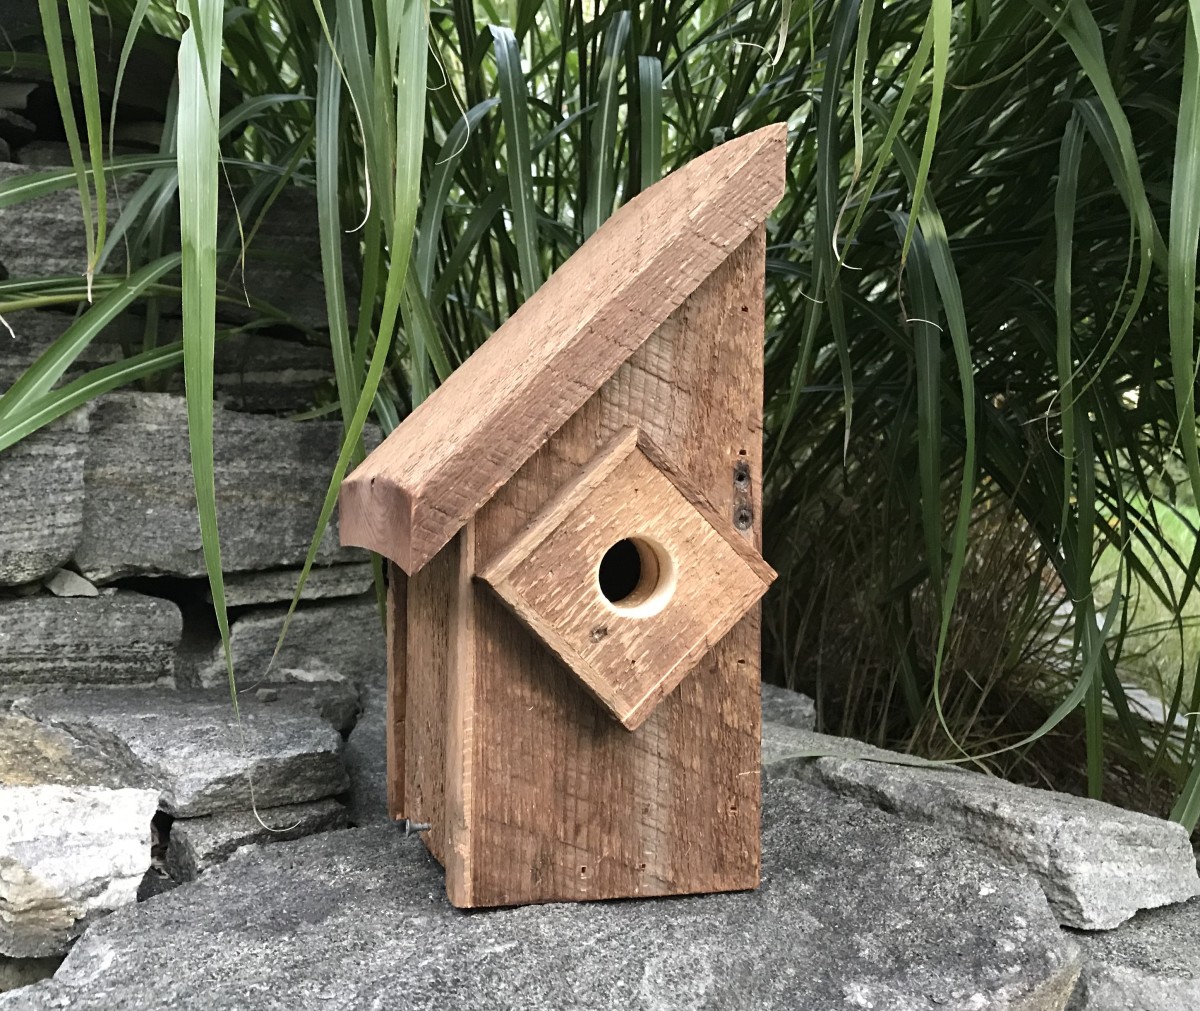
Build a Birdhouse with Rustic Charm: A Step-by-Step Guide
Hey there, fellow bird lovers! Are you looking to add a touch of country charm to your backyard? Building a rustic birdhouse is a fun and rewarding project that lets you create a welcoming haven for feathered friends. Whether you're a seasoned DIYer or a beginner, this guide will walk you through the steps, from choosing the right materials to giving your birdhouse that authentic, weathered look.
Gather Your Materials and Tools
Before you start hammering and sawing, make sure you've got all your supplies ready. You'll need:
- **Wood:** Choose a weather-resistant wood like cedar, redwood, or pine. For a truly rustic look, use reclaimed wood or salvaged pieces.
- **Wood glue:** A strong adhesive to hold the pieces together.
- **Screws:** Use screws specifically designed for outdoor use to prevent rust.
- **Saw:** A circular saw or a handsaw for cutting the wood.
- **Drill:** For drilling pilot holes before screwing and for creating the entrance hole.
- **Sandpaper:** To smooth out any rough edges and create a polished finish.
- **Measuring tape:** For accurate measurements.
- **Pencil:** For marking the wood.
- **Level:** To ensure your birdhouse sits straight and level.
- **Wood stain or paint:** (Optional) For adding color and protection.
- **Weatherproofing sealant:** (Optional) To protect the wood from the elements.
- **Birdhouse plans:** You can find plenty of free plans online or in DIY books.
Selecting Your Birdhouse Design and Size
Choosing the right design and size for your birdhouse is important for attracting the birds you want. There are so many beautiful and unique birdhouse designs out there, but it's crucial to keep in mind the types of birds you want to attract.
Research Bird Preferences
Think about which birds you see in your area and their nesting habits. Different birds prefer different sized entrances, depths, and internal dimensions. Some birds prefer houses with a flat roof, while others love a pitched roof for drainage.
Consider Your Location
The placement of your birdhouse matters too. Choose a spot that gets some sun but also offers shade from the hottest part of the day. A location out of the wind is best, and it's great if it's near a source of water.
Building the Birdhouse: A Step-by-Step Guide
Now that you've gathered your supplies and chosen your plan, let's get started! Here's a general guide to building your rustic birdhouse, but make sure to consult your chosen birdhouse plan for specific measurements and instructions.
Step 1: Cut the Wood Pieces
Using your saw, cut the wood pieces to the measurements specified in your birdhouse plan. Make sure your cuts are straight and precise. Be mindful of safety when using a saw and wear protective eyewear.
Step 2: Assemble the Base and Sides
Start by assembling the base of your birdhouse, usually four pieces of wood forming a square or rectangle. Glue the sides together, then secure them with screws. Apply a little wood glue to the edges before screwing. This will prevent the wood from splitting and create a stronger bond.
Step 3: Add the Roof
Next, attach the roof. Some birdhouse designs have a simple flat roof, while others have a pitched roof. Measure and mark the roof pieces and attach them to the base using glue and screws.
Step 4: Create the Entrance Hole
Carefully drill the entrance hole. Remember to choose the correct size based on the bird you want to attract. You'll need to drill a pilot hole first and then slowly enlarge it to the desired size.
Step 5: Add Interior Details
If your birdhouse plan includes interior features like a perch or a nesting platform, cut and assemble these pieces now.
Step 6: Sand and Finish
Once your birdhouse is assembled, sand it down thoroughly. Use different grits of sandpaper to get a smooth finish. This will create a more polished look and make it easier for birds to enter the house.
Adding Rustic Charm: Finishing Touches
Now comes the fun part! Let's give your birdhouse that unique rustic charm. Here are some techniques to try:
Weathering the Wood
For a truly rustic look, you can weather the wood yourself. You can achieve this with:
- **Sanding:** Use a wire brush or coarse sandpaper to create a distressed and aged effect.
- **Sun and Rain:** Allow your birdhouse to sit outside for a few weeks to naturally weather the wood.
- **Wood Stain:** Apply a wood stain in a darker color to accentuate the natural wood grain and give it a weathered look.
Adding Embellishments
To make your birdhouse even more charming, consider adding some rustic details:
- **Twigs:** Add a few small twigs to the roof for a natural touch.
- **Rustic Hardware:** Use old-fashioned hinges, handles, or screws. Look for salvaged hardware for an even more unique look.
- **Natural Elements:** Attach a small piece of bark, a pine cone, or a few dried flowers to the exterior.
Tips for Attracting Birds to Your Birdhouse
You've created a beautiful and rustic birdhouse, but you've got one more thing to do: make it inviting for birds! Here are some tips:
- **Choose the Right Location:** As we mentioned earlier, a location with some sun, shade, and protection from the wind is key.
- **Make it Safe:** Ensure the birdhouse is secure and won't fall or be knocked over.
- **Provide Water:** Birds need water for drinking and bathing. Set up a bird bath near the birdhouse or hang a bird feeder.
- **Keep it Clean:** Clean the birdhouse at the end of the nesting season to remove old nests and debris.
- **Be Patient:** It might take a while for birds to discover your new birdhouse. Don't worry, they'll eventually come to check it out!
There you have it! You're now equipped to build a rustic birdhouse that will be the envy of the neighborhood. Remember to have fun with the process, be creative, and personalize your birdhouse to make it truly unique. Enjoy the reward of watching your feathered friends make a home in your backyard!
0 comments:
Post a Comment
Note: Only a member of this blog may post a comment.