Sunday, November 10, 2024
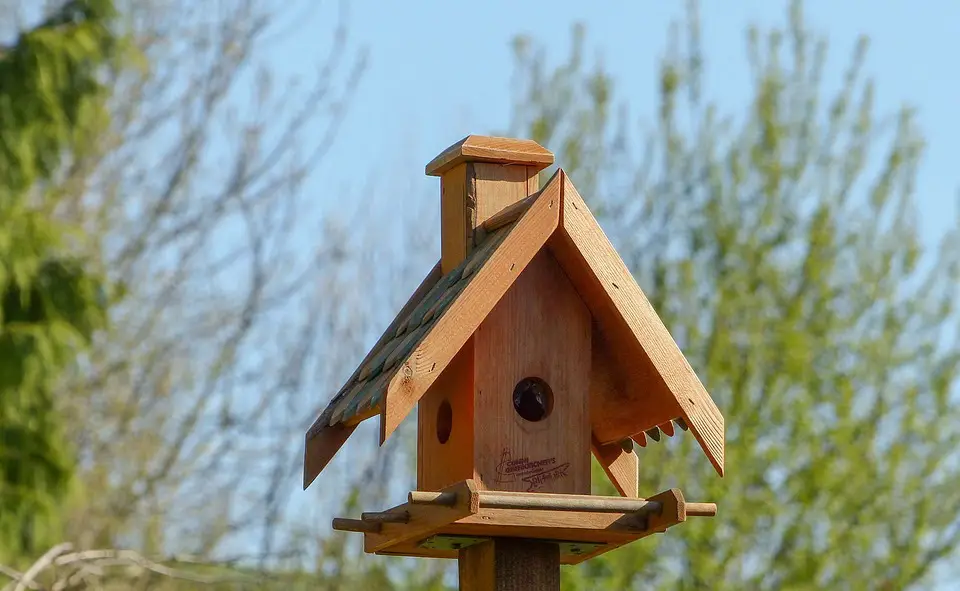
How to Build a Birdhouse with an Open Roof for Ventilation
Hey there, bird lovers! You know those adorable little feathered friends we all love to watch flitting around? They deserve a cozy home, right? And what better way to show them some love than by building them a beautiful, breezy birdhouse?
Today we're going to tackle a little project that's perfect for beginners and seasoned DIYers alike: building a birdhouse with an open roof. This design is all about providing excellent ventilation, keeping those precious chicks nice and cool, and, let's be honest, it looks pretty darn stylish too!
Gather Your Tools and Materials:
Let's get our hands dirty, literally! We'll need a few essential tools and materials to make this birdhouse happen:
Wood: We'll be using cedar or redwood because it's naturally rot-resistant and durable, but pine will work too. Just remember to treat it with a weather-resistant sealant. You'll need:
One piece of 1x6 board for the base and roof
Two pieces of 1x4 board for the sides
Two pieces of 1x4 board for the front and back
One small piece of scrap wood for the landing perch
One small piece of scrap wood for the roof support
Tools:
Saw (circular, jigsaw, or hand saw)
Drill with assorted drill bits
Screwdriver
Measuring tape
Pencil
Clamps
Sandpaper
Weather-resistant sealant (optional)
Paints or stains (optional)
Building Your Birdhouse: A Step-by-Step Guide:
Now, let's get down to the nitty-gritty. This is where the fun truly begins!
1. Cutting the Pieces:
First, we'll cut the 1x6 board to make the base and roof. Measure the length of the base you want and cut it to size. Then, cut a piece of 1x6 board for the roof that's slightly longer than the base to create an overhang. You want the overhang to be a couple of inches on each side for some extra protection.
Next, cut the 1x4 boards to size for the sides, front, and back. For the sides, cut two pieces that are the same height as the base. For the front and back, cut two pieces that are the same height as the sides.
Finally, cut a small piece of scrap wood for the landing perch, about 2-3 inches long. And cut another small piece of scrap wood for the roof support, about 2 inches long.
2. Assembling the Base:
Take the base piece and, on the underside, mark the center point of the long edge. This is where we'll attach the perch later.
Now, take the two side pieces and attach them to the base with screws. Position them flush with the edges of the base and use screws long enough to go through both pieces of wood.
Repeat this step for the front and back pieces, attaching them to the base with screws.
3. Adding the Roof:
This is where the open roof design comes in! You'll want to create a little lip on the roof for the overhang. To do this, measure about an inch inward from each edge of the roof piece and mark it with a pencil.
Cut two small angled lines from the marks to the edges of the roof, creating two small triangles on each side. This will give you the overhang you want.
Now, attach the roof to the base with screws. Make sure the overhang is pointing out on both sides. We want those birds protected from the elements.
4. Adding the Roof Support:
Before attaching the roof support, position the roof on the base. We'll use the roof support to create a slight slope, helping rain water run off easily.
To attach the roof support, measure about 1-2 inches inward from the back edge of the roof and mark it with a pencil. This is where the roof support will go.
Attach the roof support to the roof with screws. You want it to be tilted slightly to help with drainage.
5. Adding the Perch:
Now, it's time to help our feathered friends get inside! Take the landing perch you cut and attach it to the base using screws. Make sure it's centered on the mark you made on the underside of the base. You want it to be about 1-2 inches from the edge of the base, so it's easy for birds to perch.
6. Sanding and Sealing:
Smooth any rough edges with sandpaper and give your birdhouse a good cleaning.
If you want to add a finishing touch, apply a weather-resistant sealant to help protect the wood. Choose a sealant that is safe for birds and won't affect their health.
7. Decorating:
This is where you get creative! Let your personality shine through. You can paint the birdhouse any color you like, use stencils, or even add a cute bird design!
Tips for Birdhouse Placement and Maintenance:
Location, Location, Location: Choose a spot that's in an open area, preferably facing south or southeast. This will provide maximum sunshine for the birdhouse and keep the inside warm.
Safety First: Make sure the location you choose is safe from predators and weather elements. Place the birdhouse out of direct sunlight and protect it from heavy rain and wind.
Cleaning Time: Clean the birdhouse regularly. This helps prevent the buildup of harmful bacteria and parasites, creating a safe and healthy environment for your avian friends.
Congratulations, You Did It!
You've just built a beautiful and functional birdhouse for your feathered friends. Now, all you need to do is watch and wait. You might even be lucky enough to see a family of birds nesting in your very own creation.
Remember: Building a birdhouse is not only a fun project but also a great way to contribute to the natural world. By providing a safe and welcoming home for birds, you're playing a role in protecting our amazing biodiversity. So go ahead, get your tools ready, and let's build some birdhouses!
0 comments:
Post a Comment
Note: Only a member of this blog may post a comment.